User Profile
Administration > User Permissions > User Profile
Depending upon permissions provided, there may be up to 6 tabs available for configuration.
- Basic Information
- User Detail
- Individual Permissions
- Reset Password
- Corporate Permissions Utility
- Corporate User Role Utility
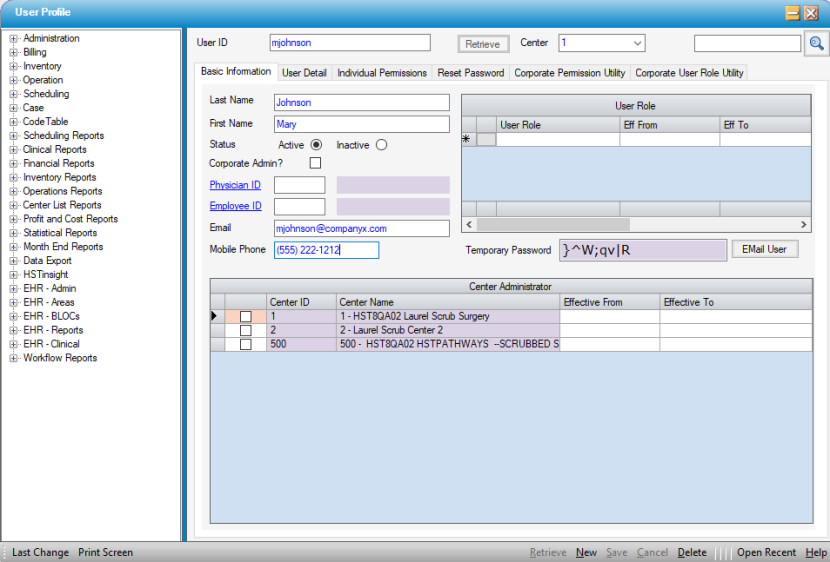
Basic Information Tab
Managers and Security Administrators must be set as Center Administrators on this first tab in order to create and/or maintain additional users.
On the Center Administrator grid, check the box for each center for which the user will need to create and maintain users.
To add a new user, select New
| Field | Description / Actions / Validations | |
| User ID |
This is a required field. If using Single Sign On, be sure to enter the User ID as the Windows User ID. (Single Sign On {SSO} configuration is found in Administration > Configuration > Enterprise Configuration. HST Support must be contacted to edit these settings. |
|
| Last Name | This is a required field. | |
| First Name | This is a required field. | |
| Status | This field will default to Active. To Inactivate an existing User, select the Inactive radio button. | |
| Corporate Admin |
When this box is checked, two additional tabs will be available on the User Profile:
|
|
| Physician ID |
Enter the Physician ID associated the User Profile if one exists. Click the If a Physician ID is linked to the User Profile and the Mobile or Email is updated, an informational message will be presented and the values from the User Profile will be updated in the linked Physician as well. |
|
| Employee ID |
Enter the Employee ID associated the User Profile if one exists.Click the If an Employee ID is linked to the User Profile and the Mobile or Email is updated, an informational message will be presented and the values from the User Profile will be updated in the linked Employee as well. |
|
|
Enter the Email address for the purpose of sending system generated emails upon completion of a new Profile for the user to receive a New User email and a separate temporary password email. This email is also used in the event the user needs a password reset. The new temporary password would also be sent to this email address. If using Multi-Factor Authentication be sure to configure at least one method (Email or Mobile Phone) for the user to receive their One Time Passcode. See Multi-Factor Authentication for set up. |
||
| Mobile Phone |
Enter a Mobile Phone if one is available. If using Multi-Factor Authentication be sure to configure at least one method (Email or Mobile Phone) for the user to receive their One Time Passcode. See Multi-Factor Authentication for set up. |
|
| User Roles Grid | ||
| User Role | If User Roles have been defined, these will be available for selection from the drop down in the User Role grid. Select a User Role from the drop down to assign to the new user. This will provide them with all permissions associated to the selected Role(s). (A User can be assigned more than one Role.) | |
| Eff From / Eff To |
To assign a role temporarily, enter Eff From and Eff To dates. |
|

 hyperlink to search by Last Name, First Name and Specialty Code 1, Status, or Default Role Desc for Physicians
  hyperlink to search by Last Name, First Name or Dept and Employee Type.
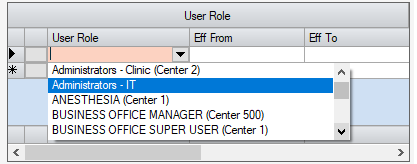
User Detail Tab
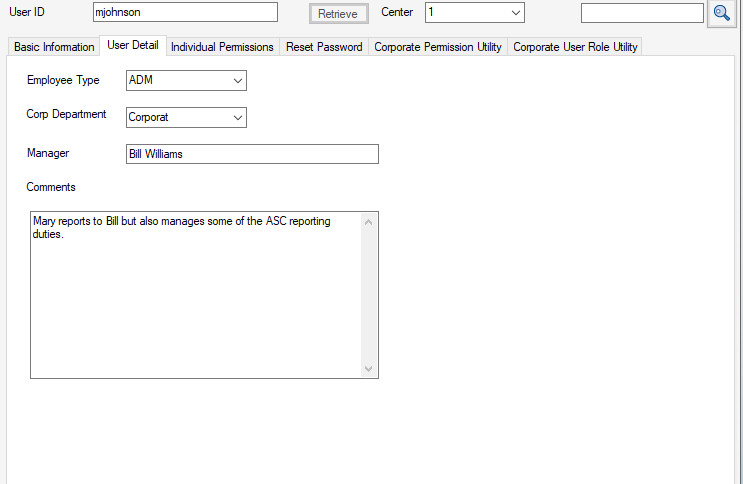
The User Detail tab includes fields to further classify users accessing the system, as well as a comment field for additional notes relevant to access or duties.
These fields will print on both the CT6017 - User Profile and CT6019 - User Access reports.
| Field | Description / Actions / Validations |
| Corp Department |
This field is associated to the Enterprise Corporate Dept table found in Administration > Code Table Maintenance. Created and maintained at the organizational level, this code table allows an enterprise of centers to set up internal and external user departments that may be different than Employee Departments. Examples of Corporate Departments may include IT or Corporate Accounting. |
| Employee Type |
This field is associated to the Enterprise Employee Type table found in Administration > Code Table Maintenance. This table assists to further define the user and their access to a center. |
| Manager | This is a free text field where the user's manager can be entered. |
| Comments |
This is a free text field in which additional information about the User can be entered. An example might be to list previous job titles and effective ranges for Users who have been transferred or promoted and whose User Roles and/or User Permissions have changed accordingly. |
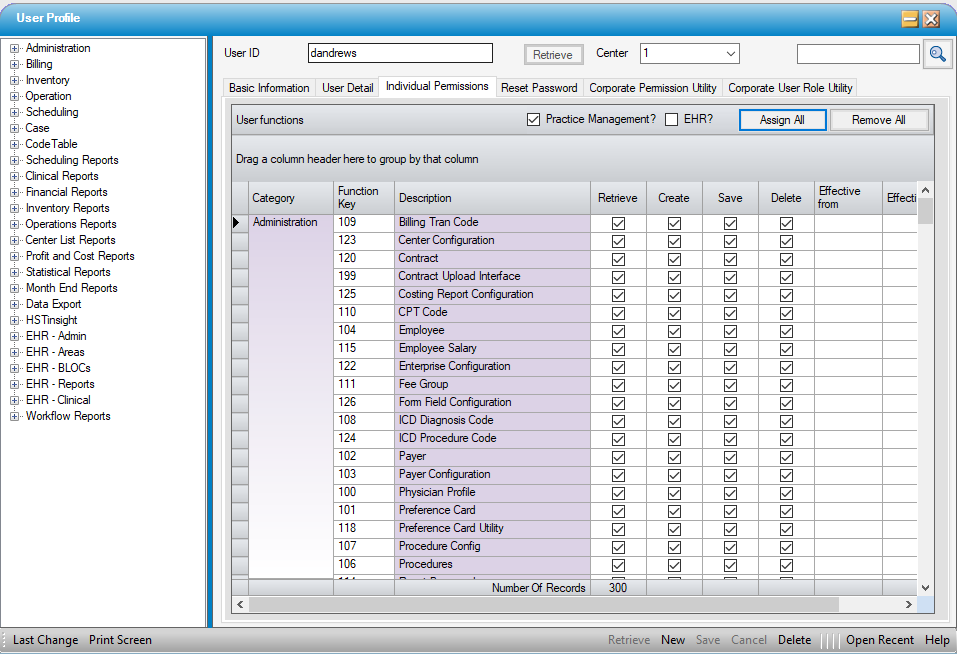
Individual Permissions Tab
The Individual Users tab can be used if User Roles are not being utilized or to add, delete, or edit individual permissions associated with User Roles.
Assigning Individual Permissions functions in the same manner as assigning role functions and are explained in detail on the Assign Functions form.
Individual Permissions override Role Permissions. This means that if the User Role grants access to a specific form as view-only (only Retrieve is checked), but Individual Permissions grants full access to the same form (all boxes are checked) - the User will have full access to that form.
An example of how this tab may be used to enhance the User Roles may be found in a Central Business Office, where there are multiple Collectors. The Collector Role may include all Billing permissions except Trans Posting and Undo Visit Balance. This User Role can be assigned to all Collectors. The Lead Collector, however, may require these functions. The Lead can be assigned the Collector Role and then granted these additional permissions via the Individual Permissions tab.
Edit Access Levels
When a new User is created and a User Role is assigned, or Individual Permissions have been assigned, the default is for the boxes to be checked for all Access Levels.
- Leave the box checked to allow permission to the Access Levels: Retrieve, Create, Save, or Delete. Un-check to remove.
- If Retrieve is unchecked, all boxes will be unchecked by default. Likewise, If Create or Delete are checked, Retrieve will be checked by default.
Tip: To create a "view-only" role, uncheck all boxes except Retrieve.
- Click Save.
NOTE: Please see User Permissions Overview for a full definition of each available option for Retrieve, Create, Save and Delete.
NOTE: Assign All and Remove All will assign or remove all available permissions based upon which corresponding check boxes have been checked. Checking Practice Management? and selecting Assign All will assign all Practice Management permissions. Likewise, checking EHR? and selecting Assign All will assign all eChart permissions. Checking both of these boxes will assign all permissions for both.
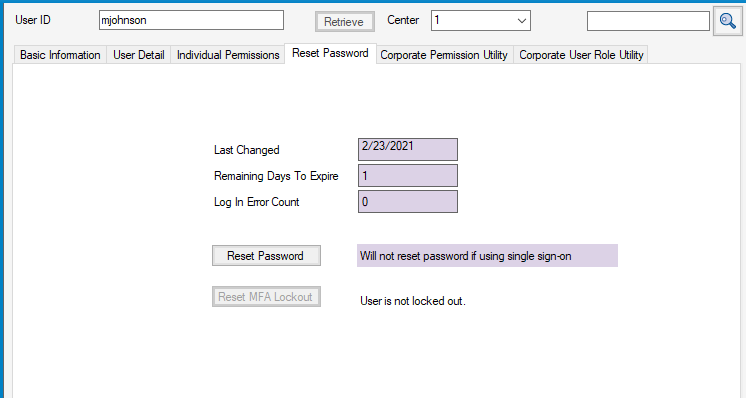
Reset Password Tab
| Field | Description / Actions / Validations |
| Last Changed | This field indicates the last date the user's password was changed. |
| Remaining Days to Expire | This field indicates the number of days remaining until the user's password expires. |
| Login Error Count | This field refers to the number of bad Log In tries from the Log In screen. |
| Reset Password |
The button label has been changed from Reset to Reset Password. When MFA is enabled, and Reset Password is clicked, the user will be required to change their password from the temporary password and to re-Authenticate via MFA on their first log in after password reset. The hover message for this button is “Reset Password and MFA”. This action, resets the user's MFA Max Attempt Limit and Remember Me (In Days) to 0 in the database. If MFA is not enabled, the user will only be required to change their password upon login.
|
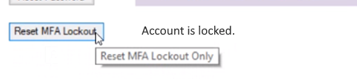
| Reset MFA Lockout |
This button is only enabled if Multi-Factor Authentication (MFA) is enabled at a center this user has access to and their account is locked. When an account is not locked, the following message will display next to the button: User is not locked out. When the account is locked the message next to the button displays: Account is locked. When this button is clicked, the account is reset and the message will display The Account has been reset. This option can be accessed by those users who have permission to Reset Passwords. The hover message for this button reads Reset MFA Lockout Only. This option does not affect user passwords.
Please see the Resetting Locked Accounts help file for details on unlocking accounts. |

Resetting a User's Password
- Go to Reset Password tab, and click
 .
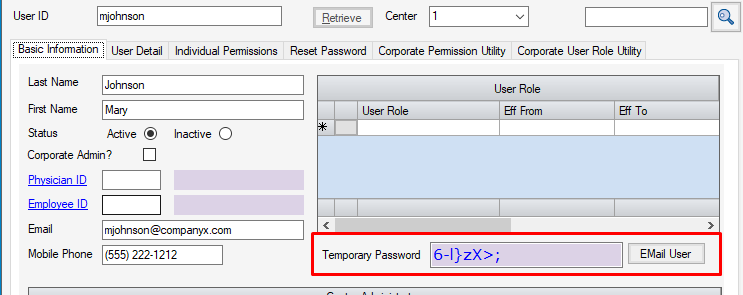
. - This will load the Basic Information tab with a system generated Temporary Password and the Email User button
 . These will only be visible on this tab when saving a newly created User Profile or for Password Reset.
 - An e-mail must be entered for the User on the Basic Information tab in order to use the EMail User button. Click the Email User button to e-mail the temporary password to the Email saved in the User Profile.
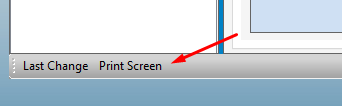
- If a new user does not yet have access to email, or the center has chosen not to use the HST Practice Management email functionality, the temporary password can be provided verbally or by manually copy and pasting into the corporate email system. A screen shot can also be generated for the user by clicking the Print Screen button in the lower right.
|
PLEASE NOTE: Reset Password is a permission which must be granted in order to perform this function. Password policies, including the number of hours until the system generated temporary password expires, are configured in Administration > Configuration > Enterprise Configuration. |
Resetting Locked Accounts
Locked accounts will only affect those users who have access to a center that is Multi-Factor Authentication enabled.
Please see the Resetting Locked Accounts help file for details on unlocking accounts.
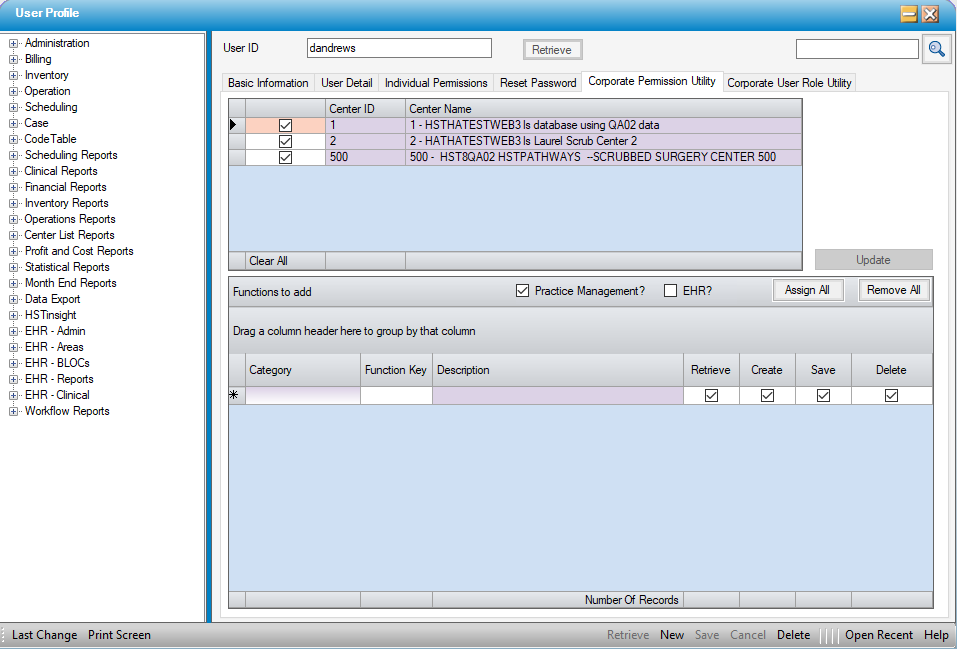
Corporate Permissions Utility Tab
This additional tab allows users to be assigned individual permissions for multiple centers simultaneously.
The Practice Management? and or EHR? checkboxes, when checked and Assign All is clicked, will move all permissions for that application to permission grid. Clicking Remove All when either of these boxes are checked will remove all permissions for that application.
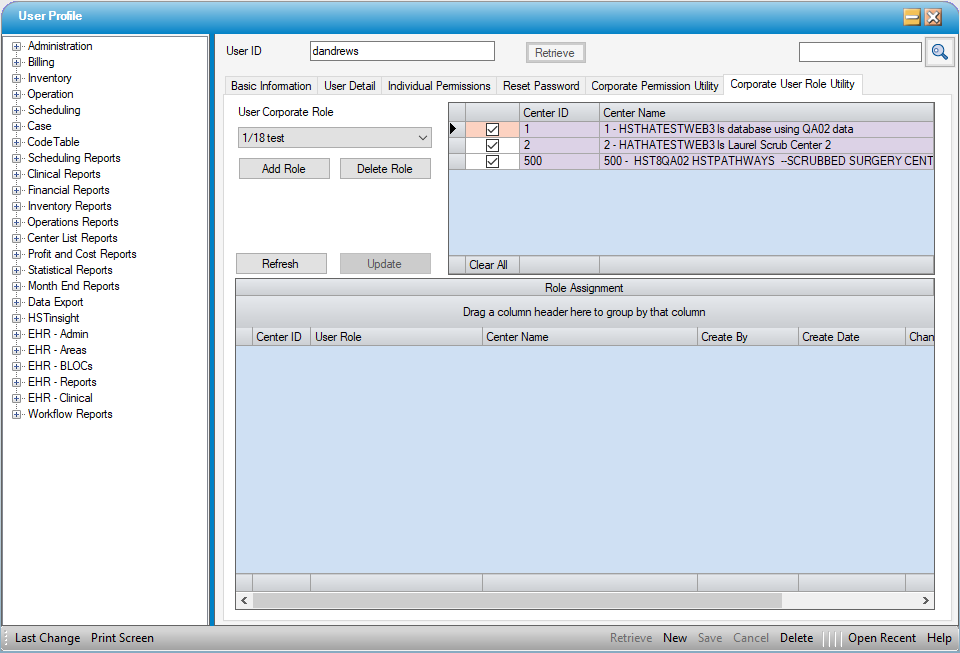
Corporate User Role Utility Tab
This additional tab allows users to be assigned User Roles for multiple centers simultaneously.